Sunday, August 26, 2012

Decisions, Decisions....

This week I am going to give you a little bit of a glimpse into my design decision making process.

In this first picture, we see a bracelet I am working on. I have finished the beaded section with alternating sections of solid black and silver highlighted. I choose this pattern because I liked the aesthetic, the color blocking... and because I didn't have enough of the silver beads to go the whole length of the bracelet. Anyway... I posted this picture to the Bead Soup Cafe on Facebook asking for some opinions on which cone I should use to finish it off. I felt the shorter length cone worked better, but wasn't happy with the fit of the cone or the pattern on it. I liked the fit and the simplicity of the longer cone, but it was just so darn long!

which_cone

While I was waiting for some replies, I went back to my stash and actually managed to find a different cone that worked perfectly. It was a shorter length, it fit the beadwork, and it had a pattern that went well with the beadwork! So happy that I didn't settle on either of the first two. SHOP YOUR STASH!!!

finished

Oh, and the other bracelet in that picture is the first one I did in this stitch. Done in cream and an antique bronze, it is a wonderful combination but I really wanted to play with the pattern. If you would like to know how to do this stitch, I learned it from this video on Youtube.

Pin It!

Friday, August 24, 2012

Bead Soup Blog Party: 3rd Reveal!

Today is the day for the 3rd reveal of the 6th Bead Soup Blog Party. I am one of the participants, and today is my reveal! Unfortunately, postal service between the US and Poland is not all one might hope. I haven't received my beads yet and neither has my partner Barbara Błaszczyk.

So, what to do what to do? Well, we are going to go visit all the other blogs participating in the hop! We will start at Lori Anderson's Pretty Things Blog, and from there we can visit all the other participants in this reveal. Should take all weekend, as this is the largest reveal. But what a way to spend a weekend! Have fun!

Oh, and when my beads do finally arrive (I have hope!) I will still be making something and posting it here.
Pin It!

Wednesday, August 22, 2012

Free stuff from Royal Design Studio!

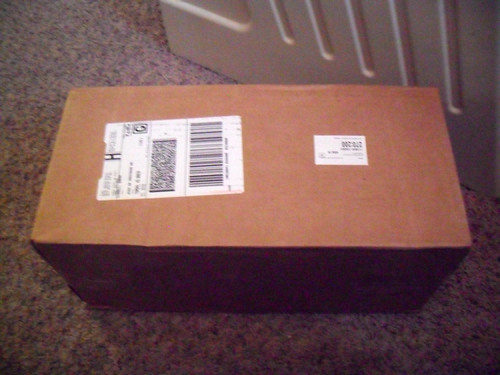
So, you may have seen me announce on Facebook a couple weeks ago that I won a $250 shopping spree from Royal Design Studio. Well, after a couple of missed emails, my free stuff finally arrived!!!

the_box

Don't you just love getting packages in the mail? I love it so much that I usually forget to take pictures until after it is all open and put away. This time I documented it all!!!MWAHAHAHAHAHA!!!!

sadness

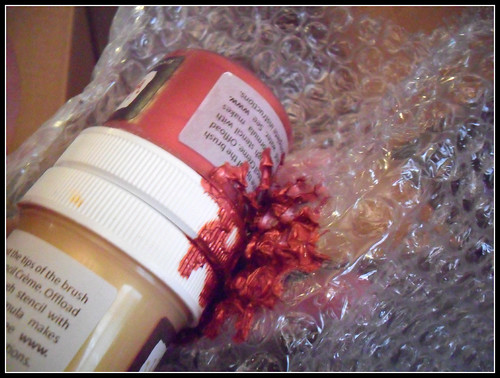
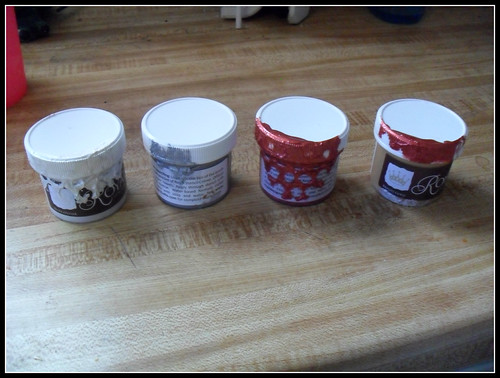
The first unwrapping was slightly sad. Some of the stencil cremes (fancy word for paint) had leaked. I ended up with three of my ten paints that had leaked, and four that had paint on them.

more_sadness

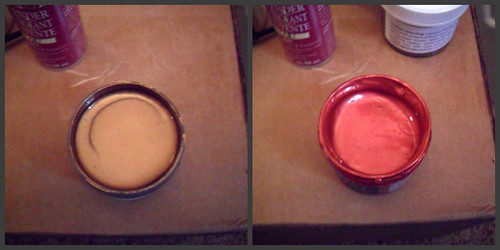
However, when I checked inside the jar that had leaked the most (Renaissance Red) and compared it to one that hadn't leaked (Copper Kettle) there was very little difference. So not much loss.

compare

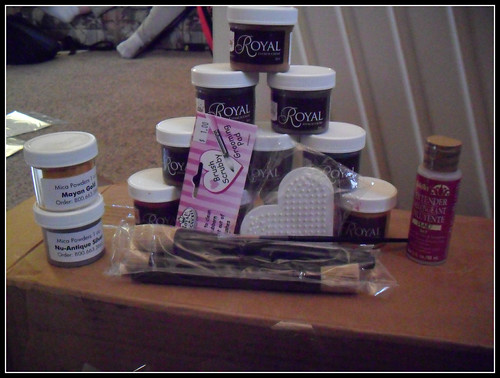
To go with my new paints, I had to get a brush kit. It has a bunch of stencil brushes, some paint extender, and a brush cleaner (heart shaped). (Also pictured are two things of mica powder - Antiqued Silver and Mayan Gold).

paints_plus

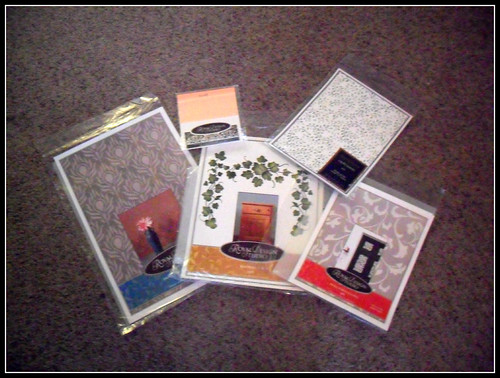
Next we see the stencils I picked out. There are four - an ivy, a scrolly one, a leafy one, and a peacock feather one. They have names, I don't remember them. *shrug* Also pictured is some silver-esque leaf(aluminum). Not pictured, anywhere, is the big bottle of leaf sizing.

stencils

So, that is the fun stuff I got. I cannot wait to try my first project - I have already purchased a cheap wood frame I want to redo and some canvases to experiment on. If the small projects go well, I will tackle my bookcase!

Final picture - always save your salad containers. They make great craft storage, and if they are #6 plastic you can make shrinky dinks out of them!

salad
Pin It!

Tuesday, August 21, 2012

New Pattern: The Dark God

chuthulu

Chuthulu here is slightly more suited to a bracelet than a ring. He is just contrary that way.

Tomorrow or Thursday will bring some updates on what I have been making. I have to get some pictures taken. Seeya then!
Pin It!

Monday, August 13, 2012

Carving a Ring from Wax

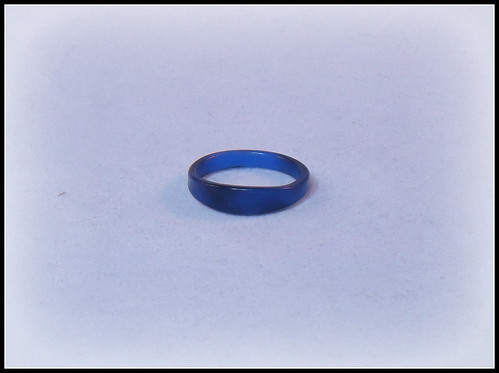
wax_ring

The first question you might ask is "Why would you want to carve a ring from wax?" The reason is that wax is soft enough to carve easily, but hard enough to hold the shape well and take fine detail. Thus it makes a great material for creating a prototype of a ring or other small object. It has been used for hundreds (if not thousands) of years by jewelry artists in what is known as lost wax casting.

For lost wax casting, the artist first carves a prototype out of wax. Once it is complete, they use more wax to sprue it (make little pipes and funnels) and then make a plaster cast. The sprues allow for material to enter and leave the casting (including air so you don't get bubbles!). Once the cast is complete, it is put in a kiln to melt out the wax. Finally, molten metal is poured into the casting to take the form of the original wax object. In most cases, the casting is lost when the metal duplicate is removed (when I did this in my metal working class, we actually took the hot casting and dunked it in water, causing it to explode! much fun!).

Now, I don't have the setup at home to work with molten metal, so instead I am working with resin (and hopefully metal clay paste in the future). I also don't want to have to recarve the ring every time I want to make one, so rather than a plaster cast that is destroyed, I am experimenting with a two part rubber mold. I am working from the tutorial I found here, although my molding compound does not require the vacuum equipment.

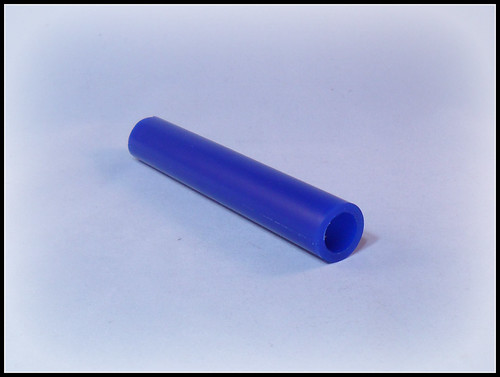
So, to carve wax you don't want to just start with a candle. First off candle wax is too soft. And for the rings I want to make, it helps the process to start with wax that is essentially ring shaped. Thus we want tube wax.
wax_tube

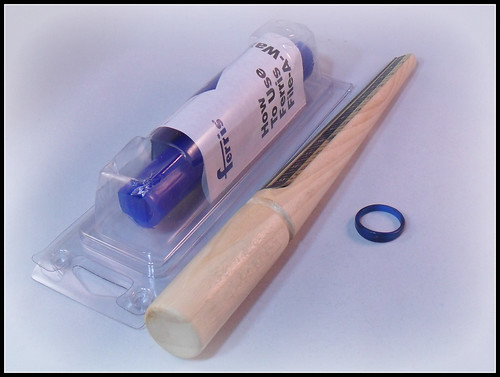
This is the tube wax I bought off of Amazon. It is blue, which is a medium hard wax. It is also a perfect circle, but other ring-type shapes are available. This tube cost me just over $10 with shipping.

To start a ring, I cut a section off the tube with my jeweler's saw, slightly thicker than I want the thickest part of the ring to be. Once I have this ring blank, I start carving. Below, you will see my favorite carving tool - the ring sizer/carver. This tool is used specifically to carve out the middle of the ring to the right size. It allows you to evenly carve the circle in the middle without getting lopsided. I consider this VITAL to carving rings.
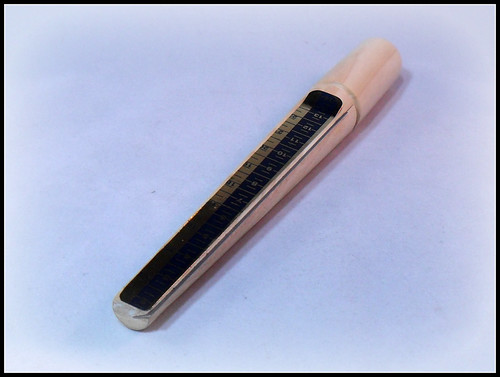
ring_carver_sizer

As for other tools... that varies. I am still in the very basic stages of carving, so mostly I am using an exacto knife and a lot of sand paper. For more complicated carving you can use needle files, sharpened wire, dental picks, found objects... basically whatever will help you carve the shape you want. You can buy specialty wax carving tools, but I don't think they are necessary if you have a little imagination.

Once you have the ring carved to your satisfaction, you want to make sure to finish it - get rid of any stray marks and make sure it is perfect. The more perfect your wax ring, the more perfect the mold, the more perfect the duplicates you make. It is a lot easier to work hard to finish one ring correctly, and then do slight touch ups on the castings, then to have to completely finish each final piece! You can finish the wax with various grits of sand paper, just like you would metal. You can also do a final "heat polish" by passing it quickly through a flame. This slightly melts the top surface of the wax and gives an even finish. You don't want to do this if you have too much fine detail in your carving, as it could lose definition.

At this point, you have a finished wax carving and are ready to make a mold! I will go over my process for making the mold in another post... but I hope this explains the process of carving wax for those who were interested.
carving_stuff
Pin It!

Friday, August 10, 2012

And the winner is....

Gite! Please email me at bysalla at gmail dot com with your address and I will get your earrings out to you!

UPDATE! Going back through the comments from Monday I seem to have miscounted. Dolla was actually the third comment. To correct this I will send a pair of earrings out to Gite AND Dolla! You can both email me to let me know the address to send the earrings to. Sorry for any confusion!

As for what I was making, there were no correct guesses (thus the random number generation). What you saw on Monday was me making a two part mold of a ring I had carved from wax.

The mold was made so that I could make resin copies of the ring (and maybe someday metal clay versions!). Below is my first resin ring... not great. I didn't add enough resin, and there was some leakage at the edges that caused little bits and things... but not bad either.

I will definitely be trying again with this mold and making other 2 part molds. This weekend I will take pictures of full process from the carving on and get those posted next week.

Thanks to all who participated!
Pin It!

Wednesday, August 8, 2012

New Pattern: Hot Beverage

ring_coffee

The winner of my give a way (and the answer to what I was making; yes it is an actual project!) will be announced on Friday. For today, please whip yourself up a nice hot beverage to enjoy while you are waiting!

Thanks!
Pin It!

Monday, August 6, 2012

Monday Givaway

Today I have things in progress that are not yet ready to show, so I decided to do a give a way. Please comment on this post with your guess as to what I have in progress in the picture below. You have between now and midnight central time Tuesday 8/7 to post an answer.

guess

The first correct commentor will win these peyote beaded bead earrings with sterling silver leverback ear wires. Should there be no correct guesses I will do a random drawing from the comments instead, so be sure to leave a comment even if you are only guessing!

prize
Pin It!

Wednesday, August 1, 2012

New Pattern: Olympic Rings

You didn't really expect me to resist something this obvious did you? While I am not following the actual Olympic events, I have been reading the stories of several of the athletes. I find myself fascinated by stories of pregnant sharp shooters, teenagers who live thousands of miles from home to follow their dreams, and men who compete with no country.

For you today, I have two ring offerings. The first features the classic Olympic Rings, the second shows of the Olympic Torch. Feel free to change out the background colors and show off your individual Olympic Spirit!

ring_rings

ring_torch
Pin It!
Related Posts Plugin for WordPress, Blogger...