Showing posts with label beaded bead. Show all posts

Tuesday, November 6, 2012

She LIVES!

More than that, she creates!

Earrings made from some silver plated disks and dyed mother of pearl heishi beads.

earrings

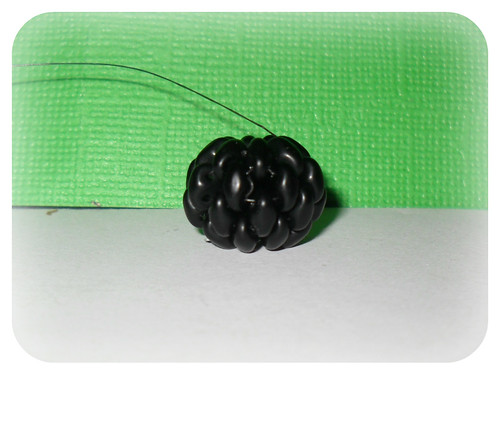
Experimenting with Super Duo beads for the first time... made a beaded bead!

duo_bead

Gotta catch a plane in the morning, so off to bed!
Pin It!

Monday, April 23, 2012

What I Made Monday

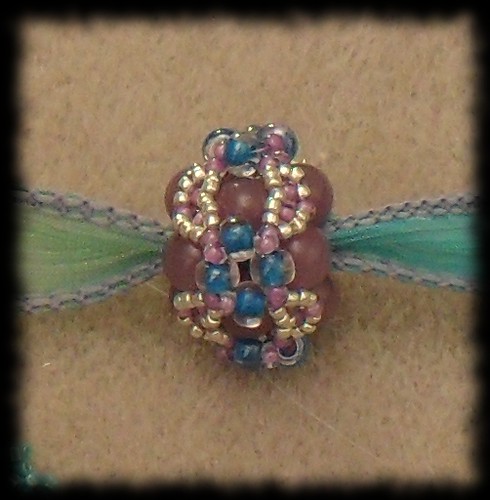
This weekend I was working with some of the goodies I received from my swap partner, Jessica Klaaren. I tried my hand and some freeform, but I suck at it. I tried my hand at some netting, but it didn't do what I wanted. So I ended up doing a beaded bead. Specifically, the one from the March/April issue of Beadwork mag. I did make some changes, in that I didn't have the right size of beads so I improvised. This was easier than I had thought it would be. I was all worried about making the right selections on sizes to make the proportions still work, but it all just sort of... worked. I also varied from the pattern in that I did not cover all sides of the bead with the embellishments. I left 2 sides plain. The reason for this was that I knew I wanted to thread the bead on the silk ribbon, and so I didn't want to block the holes with the embellishments. Overall, I like the bead, but I really wish I could have found a way to work in the green beads from my swap kit.

beaded_bead_far

beaded_bead_near

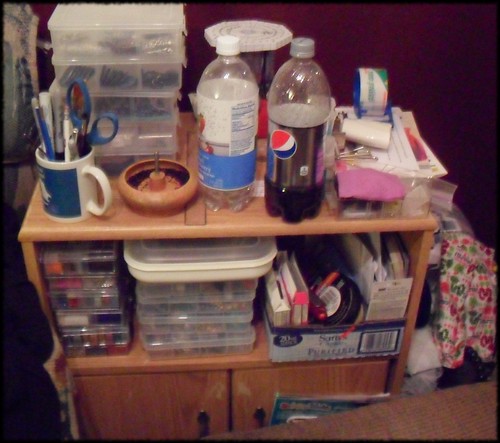
I also spent some time this weekend doing some bead organization. I ended up adding 3 new boxes to my bead stacks (the boxes were swiped from my Hero Clix storage... poor Hero's having to share boxes....). Here you will see the stacks of big divided boxes, some with beads and some with finished items, as well as the small boxes that hold all my flip tops. I should mention, this is just the portion of my jewelry making supplies that live in the living room. There is more - power tools and chemicals and such, that live in the work space in the basement. There is also more hiding on the floor down between the chair and the cabinet. And more beside the cabinet(including some knitting supplies). And more behind the chair.... Starting to wonder if some of this doesn't need to migrate back downstairs.... Anyway, I tend to do most of my beading, polymer clay work, and shrinky dinks (new obsession!) in a recliner in the living room on a personal sized folding table (slightly bigger than a TV tray, but not much). Someday, I will have some well organized beading studio, and when I do... well, I will probably still haul it all to the living room and bead with the family in front of the TV. Oh well.

bead_storage
Pin It!

Wednesday, September 28, 2011

Peyote Beaded Beads

For a while now I have been wanting to learn to make peyote beaded beads around a wooden core, but was lacking a good tutorial. While blog hopping recently, I found a link to one, finally! It was in Hungarian, but had what I needed - a chart that listed how many beads in each round for what size core bead! Here is the site that had this information. Below I have translated it to English for you. If you translate the original site, their next post goes over some information on how bead type and finish impact these numbers. I really suggest visiting it for more informaiton!
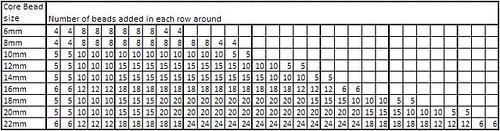
chart

While doing the first couple of beaded beads, I found it very difficult to hold everything together while I stitched. So I came up with a nifty way to stablize. I took a headpin, put a rubber earring back on it. I then started my beadwork. Once I have the first few rows, I sew in the tail thread, then I add the bead work to the headpin. Next add the bead, then another earing back. The rubber earing backs stay in place and hold everything firmly together. Plus, they are soft on the beadwork!
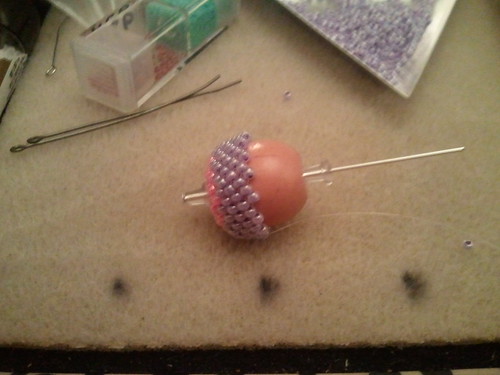
2011-09-27 21.32.53

I found that this configuration not only kept my hands from cramping, but allowed me to easily set the work down if I need to take a break! If you don't have the rubber earring backs available, you could try cutting the erasers off of pencils and using those.
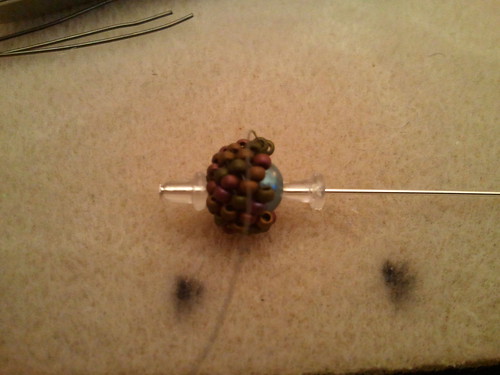
2011-09-27 19.14.50

Really handy for the tiny 6 and 8 mm beads! Also of note, you don't have to use a wooden core. You can use any old round bead. Above you will see that I am using a glass pearl. My first attempt (not pictured) was over some plastic beads!

Quote: Life is like one big Mardi Gras. But instead of showing your boobs, show people your brain, and if they like what they'll see, you'll have more beads than you know what to do with.
Ellen DeGeneres, Tulane Commencement Speech, 2009
Pin It!
Related Posts Plugin for WordPress, Blogger...