Supplies:
- Epoxy Resin - I used EasyCast
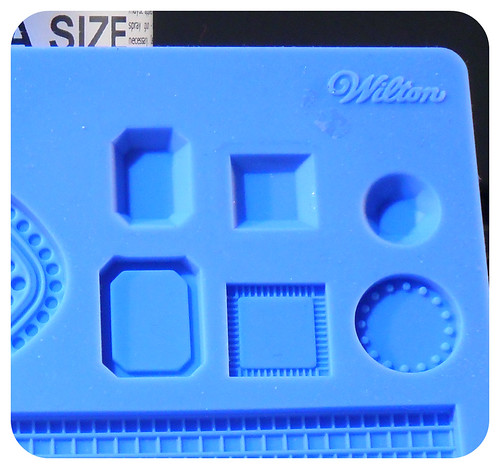
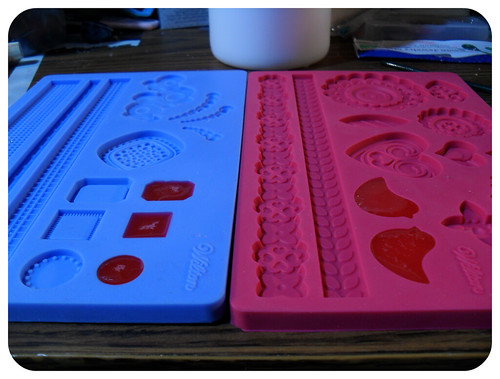
- Wilton's silicone fondant mold - the blue one with the jewel shapes - I got mine at Michael's with a 40% off coupon - so around $6
- Stir sticks - I use popsicle sticks
- small measuring cups - got mine on ebay
- good glue - I like the E-6000
- Silver leaf - mine is actually aluminium leaf
- gold leaf sizing - that is the tall white bottle in the background - it is the stuff that makes the leaf stick
- adjustable ring blank - got mine at Hobby Lobby
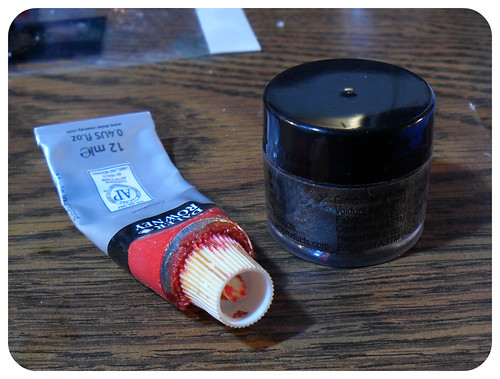
- colorants - I used red oil paint and some silver Pearlex
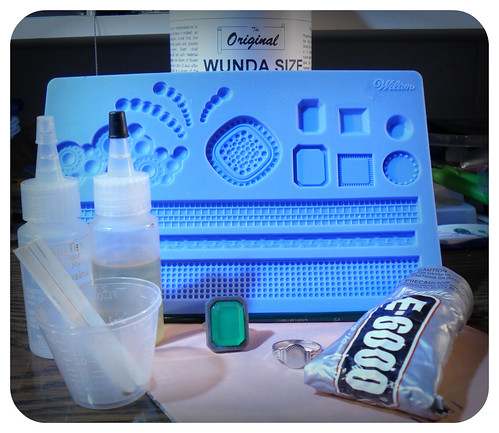
Ok, so the thing that makes this cool and totally easy is the fondant mold. Though designed for cake decorating, the silicone molds are wonderful for resin! I found this cool mold with the jewel shapes and the shapes to make bezels for them and was immediately inspired. Remember, once you use it for resin you can no longer use it for food!
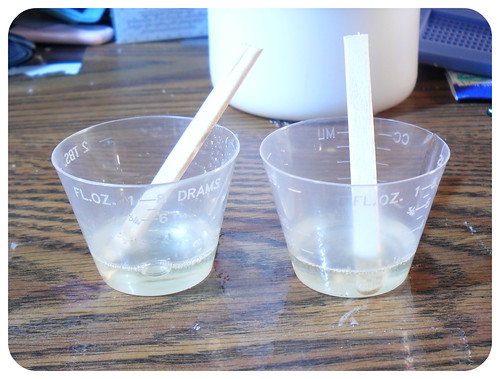
Step 1: Mix your resin per the instructions. Once mixed separate it into 2 cups.
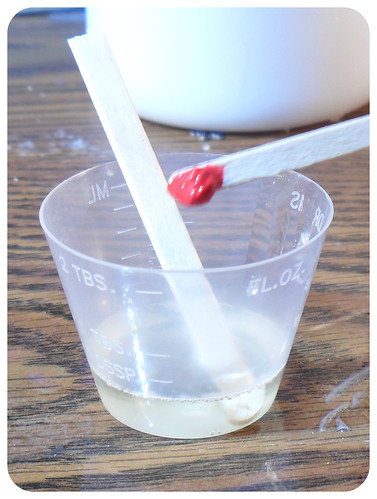
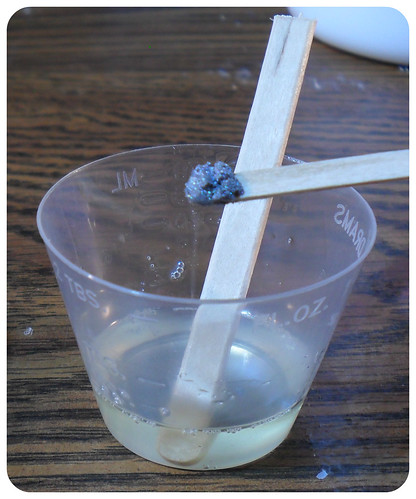
Step 2: Color your resin. I used a jewel toned red oil paint and some silver Pearlex powder. Remember, always use the least amount of colorant you can get away with to get the color you want. The less you mix into the resin, the better the resin will set up. If you need to mix you paints to get the color you want, do it BEFORE you add it to the resin. If you try to mix colors in the resin, you will end up adding too much paint and your resin won't cure right. <-- Voice of experience, right there.
Step 3: Pour the resin into the molds. Pour the jewel tone resin into the jewel mold and the silver resin into the bezel mold right under it. If you have any leftover resin, more it into other molds of your choice. If you have bubbles in the resin, you can use a straw to carefully blow (really more just exhale) across the resin and most will pop. Any stubborn ones can be popped with a pin.
Step 4: Walk away. Once your resin is poured, you will need to wait for it to cure. Mine takes 48 hours for a full cure, but can usually be removed from the mold after 24. While it is curing, make sure you have set it somewhere where it will not be disturbed and is protected from dust and debris.
Step 5: Take the resin out of the mold. One of the wonderful things about silicon molds is that they are flexible, so your castings should come out nearly effortlessly.
Step 6: Dry fit your jewel into the bezel. If you need to, trim or sand the edges of the jewel so that it fits.
Step 7: Paint a thin layer of gold leaf sizing on the back of your jewel. Allow this to dry until it is tacky (sorry for the missing pictures of this step).
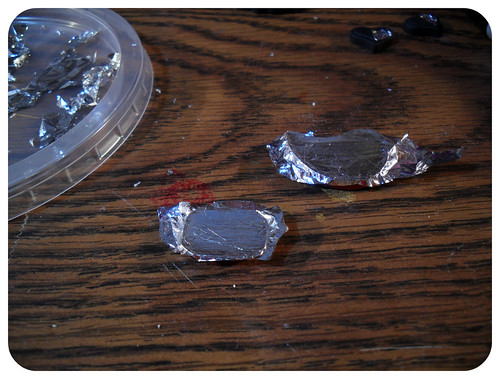
Step 8: Carefully lay a piece of your silver leaf on the back of the jewel. You can use a large dry paint brush to smooth the leaf out. Then cut or tear away any excess leaf.
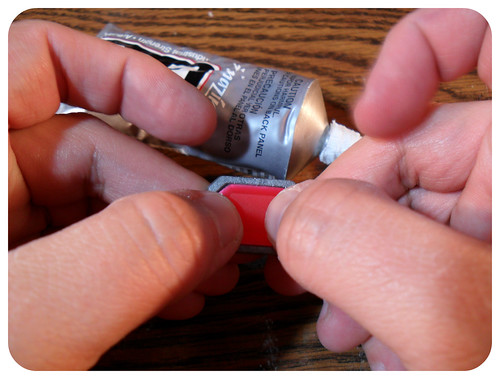
Step 9: Glue your jewel into the bezel with a small dab of E-600. Then glue the assembled bling to your ring blank with another small dab of glue. Make sure everything is straight, then set it up to dry.


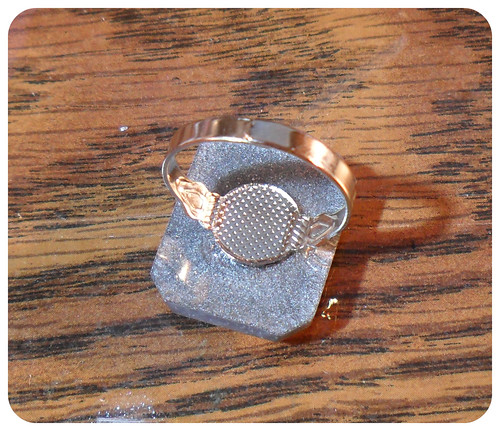
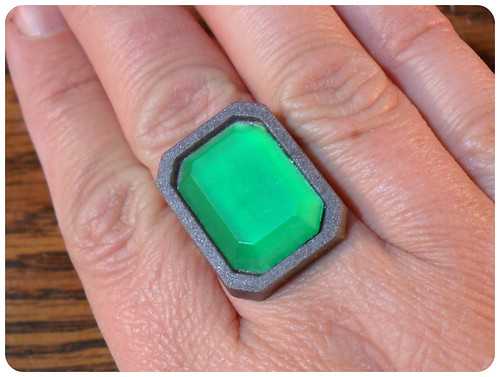
Step 10: Once the glue has fully dried (about 24 hours) you are now ready to wear your bling ring!