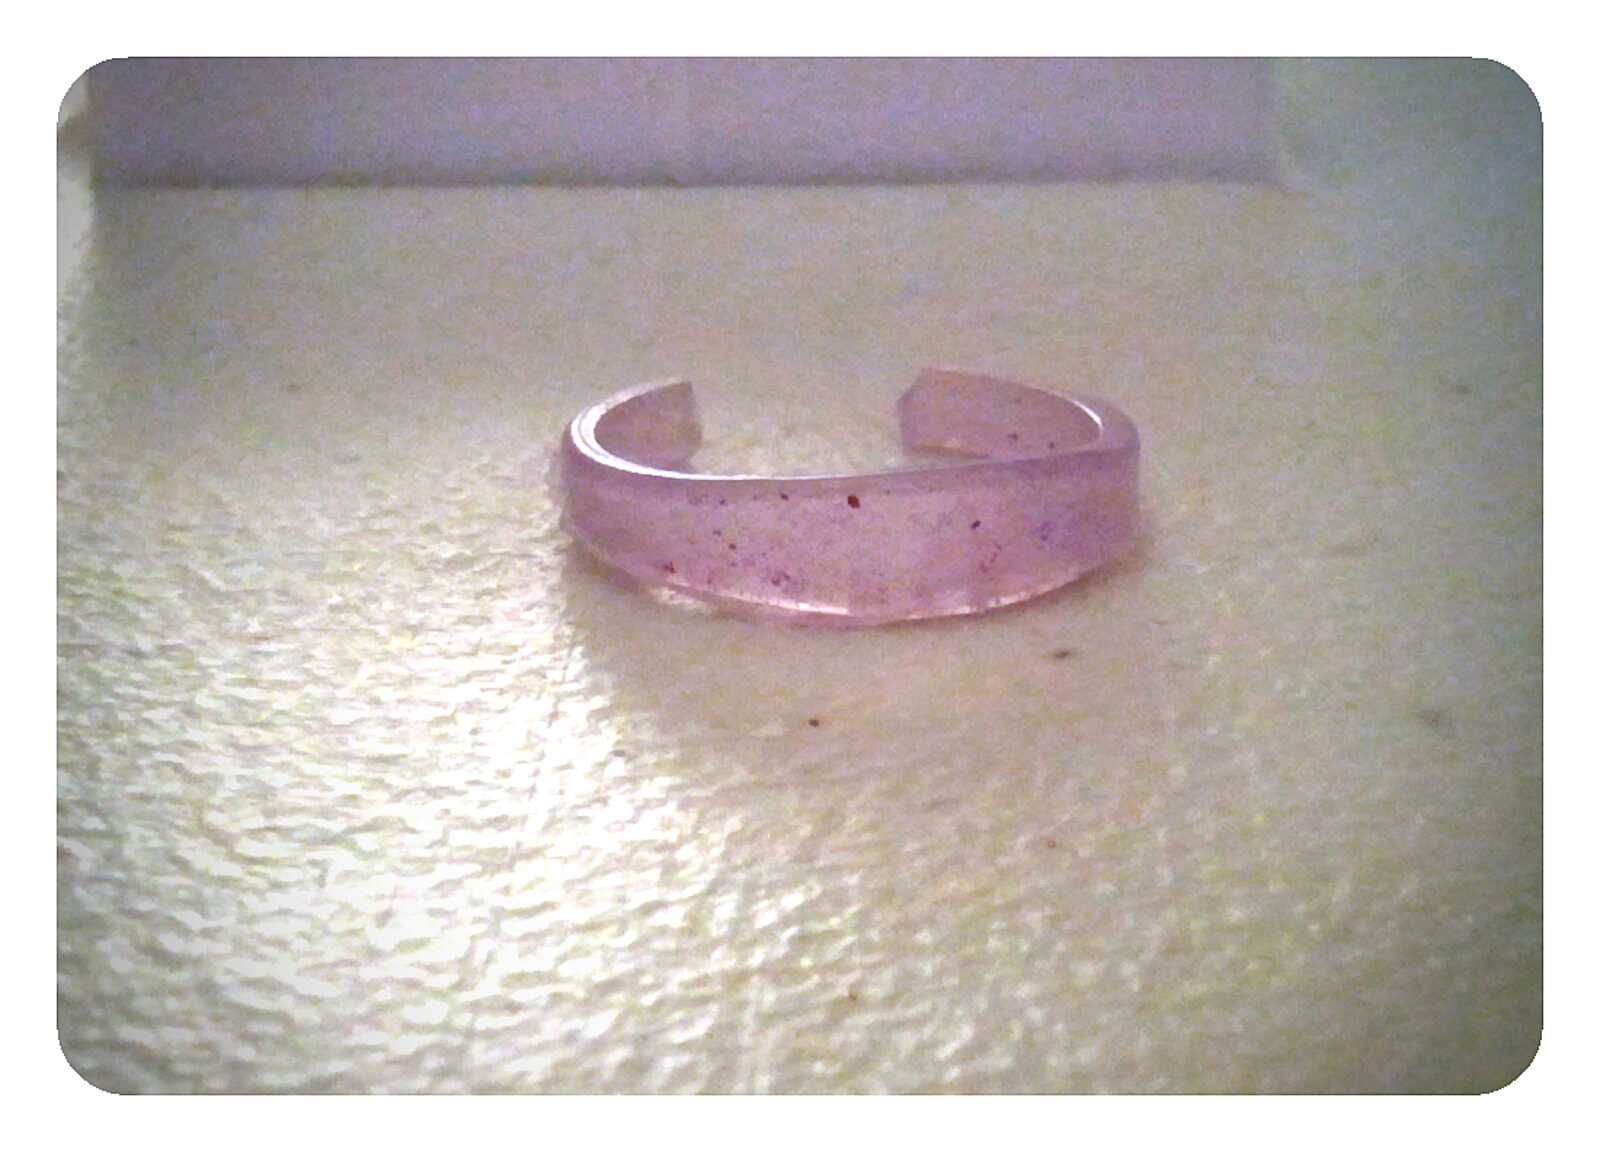
The first question you might ask is "Why would you want to carve a ring from wax?" The reason is that wax is soft enough to carve easily, but hard enough to hold the shape well and take fine detail. Thus it makes a great material for creating a prototype of a ring or other small object. It has been used for hundreds (if not thousands) of years by jewelry artists in what is known as lost wax casting.
For lost wax casting, the artist first carves a prototype out of wax. Once it is complete, they use more wax to sprue it (make little pipes and funnels) and then make a plaster cast. The sprues allow for material to enter and leave the casting (including air so you don't get bubbles!). Once the cast is complete, it is put in a kiln to melt out the wax. Finally, molten metal is poured into the casting to take the form of the original wax object. In most cases, the casting is lost when the metal duplicate is removed (when I did this in my metal working class, we actually took the hot casting and dunked it in water, causing it to explode! much fun!).
Now, I don't have the setup at home to work with molten metal, so instead I am working with resin (and hopefully metal clay paste in the future). I also don't want to have to recarve the ring every time I want to make one, so rather than a plaster cast that is destroyed, I am experimenting with a two part rubber mold. I am working from the tutorial I found here, although my molding compound does not require the vacuum equipment.
So, to carve wax you don't want to just start with a candle. First off candle wax is too soft. And for the rings I want to make, it helps the process to start with wax that is essentially ring shaped. Thus we want tube wax.

This is the tube wax I bought off of Amazon. It is blue, which is a medium hard wax. It is also a perfect circle, but other ring-type shapes are available. This tube cost me just over $10 with shipping.
To start a ring, I cut a section off the tube with my jeweler's saw, slightly thicker than I want the thickest part of the ring to be. Once I have this ring blank, I start carving. Below, you will see my favorite carving tool - the ring sizer/carver. This tool is used specifically to carve out the middle of the ring to the right size. It allows you to evenly carve the circle in the middle without getting lopsided. I consider this VITAL to carving rings.

As for other tools... that varies. I am still in the very basic stages of carving, so mostly I am using an exacto knife and a lot of sand paper. For more complicated carving you can use needle files, sharpened wire, dental picks, found objects... basically whatever will help you carve the shape you want. You can buy specialty wax carving tools, but I don't think they are necessary if you have a little imagination.
Once you have the ring carved to your satisfaction, you want to make sure to finish it - get rid of any stray marks and make sure it is perfect. The more perfect your wax ring, the more perfect the mold, the more perfect the duplicates you make. It is a lot easier to work hard to finish one ring correctly, and then do slight touch ups on the castings, then to have to completely finish each final piece! You can finish the wax with various grits of sand paper, just like you would metal. You can also do a final "heat polish" by passing it quickly through a flame. This slightly melts the top surface of the wax and gives an even finish. You don't want to do this if you have too much fine detail in your carving, as it could lose definition.
At this point, you have a finished wax carving and are ready to make a mold! I will go over my process for making the mold in another post... but I hope this explains the process of carving wax for those who were interested.