Showing posts with label resin. Show all posts

Tuesday, June 4, 2013

Exploring Jewelry: Works of fiction

Remember back when I used to end each post with a quote? Yeah, me neither.

A man's face is his autobiography. A woman's face is her work of fiction. Oscar Wilde

So, I have recently become obsessed with cameos. For those of you who don't know, cameo is actually a method of carving. Specifically, it is carving a raised image into a multilayer material. I am told the opposite of cameo is intaglio. In the jewelry world, when you say cameo most of us think of a carving of a Victorian woman's head. But, it can actually be any carving - even large scale such as vases or art installations.

Now, I can't carve to save my life so when I wanted to create my own cameos I had to cheat. Step one was to borrow a cameo from a friend (strangely not a true cameo as it is all one solid material).

first_cameo.JPG

Loved (and love) this piece, but because it is solid black, it is very difficult to see the details. So, step two was to make a mold.

mold1.JPG

An early foray of mine into moldmaking, you can see I used way to much material - my container was too big. I have since learned better.

recast_cameo.JPG

My next step was to use resin to fake a cameo - multilayered, but definitely NOT carved. Did you notice that I chose not to cast the frame? By leaving this out I can go with a simpler look, or I could choose to add a different frame in a new style.

recast2.JPG

I loved it so I made another - and several more since. The face on this cameo is so deep/thick that it just really stands out beautifully in the two tones. And the color possibilities are endless. I added a simple glue on bale to this one to make a minimalist pendant. Oh, and I used silver Sharpie to color the outside edge to make it look like it has a metal bezel.

commercial_mold2.JPG

Next up was a couple of commercial cameo molds. I have to admit, I was spoiled by how deep the mold I made was. Getting that first layer of resin to be just in the head area of the new molds was hard! The shoulders especially tended to spill over. The other commercial mold I got(not shown) had a pony tail - OH MY GOSH WAS THAT A PAIN!

earring.JPG

Before you decide I have gone totally off my rocker in posting a picture of a silver earring in a post about cameos, stay with me for a sec...

earring_mold1.JPG

flower_cameo_prototype.JPG

flower_cameo_mold.JPG

flower_cameo.JPG

Take a thrift store earring with no mate (which is actually sterling - score!), add an oval bead picked up in a bag of seconds, and suddenly (or actually about a week and a half later after the pouring, curing, gluing, more pouring, more curing...) you have a flower cameo! And again, since I am making these myself, I can do any color combination I want to match my jewelry design!

I am planning for my next foray into cameos to be one I actually carve myself in wax. Then I will make a mold and make lots and lots out of resin! MWAHAHAHAHAHA!
Pin It!

Friday, February 8, 2013

Tutorial: Resin Bling Ring

As promised, I bring you a tutorial for making your own fun bling ring out of resin.

Supplies:
  • Epoxy Resin - I used EasyCast
  • Wilton's silicone fondant mold - the blue one with the jewel shapes - I got mine at Michael's with a 40% off coupon - so around $6
  • Stir sticks - I use popsicle sticks
  • small measuring cups - got mine on ebay
  • good glue - I like the E-6000
  • Silver leaf - mine is actually aluminium leaf
  • gold leaf sizing - that is the tall white bottle in the background - it is the stuff that makes the leaf stick
  • adjustable ring blank - got mine at Hobby Lobby
  • colorants - I used red oil paint and some silver Pearlex
stuff you need
this too

Ok, so the thing that makes this cool and totally easy is the fondant mold. Though designed for cake decorating, the silicone molds are wonderful for resin! I found this cool mold with the jewel shapes and the shapes to make bezels for them and was immediately inspired. Remember, once you use it for resin you can no longer use it for food!

the molds we want

Step 1: Mix your resin per the instructions. Once mixed separate it into 2 cups.

step 1 mix and split

Step 2: Color your resin. I used a jewel toned red oil paint and some silver Pearlex powder. Remember, always use the least amount of colorant you can get away with to get the color you want. The less you mix into the resin, the better the resin will set up. If you need to mix you paints to get the color you want, do it BEFORE you add it to the resin. If you try to mix colors in the resin, you will end up adding too much paint and your resin won't cure right. <-- Voice of experience, right there.

tint with jewel tone oil paint tint with pearl ex

Step 3: Pour the resin into the molds. Pour the jewel tone resin into the jewel mold and the silver resin into the bezel mold right under it. If you have any leftover resin, more it into other molds of your choice. If you have bubbles in the resin, you can use a straw to carefully blow (really more just exhale) across the resin and most will pop. Any stubborn ones can be popped with a pin.

fill jewel molds and extras

Step 4: Walk away. Once your resin is poured, you will need to wait for it to cure. Mine takes 48 hours for a full cure, but can usually be removed from the mold after 24. While it is curing, make sure you have set it somewhere where it will not be disturbed and is protected from dust and debris.

Step 5: Take the resin out of the mold. One of the wonderful things about silicon molds is that they are flexible, so your castings should come out nearly effortlessly.

Step 6: Dry fit your jewel into the bezel. If you need to, trim or sand the edges of the jewel so that it fits.

Step 7: Paint a thin layer of gold leaf sizing on the back of your jewel. Allow this to dry until it is tacky (sorry for the missing pictures of this step).

Step 8: Carefully lay a piece of your silver leaf on the back of the jewel. You can use a large dry paint brush to smooth the leaf out. Then cut or tear away any excess leaf.

apply silver leaf

Step 9: Glue your jewel into the bezel with a small dab of E-600. Then glue the assembled bling to your ring blank with another small dab of glue. Make sure everything is straight, then set it up to dry.

apply jewel to bezel

glue to ring base

straighten

allow to dry

Step 10: Once the glue has fully dried (about 24 hours) you are now ready to wear your bling ring!

resin bling ring So I Married A Craft Blogger
Pin It!

Wednesday, February 6, 2013

Sneak Peak: Resin Bling Ring

This Friday, rather than a peyote ring pattern, I will be posting a tutorial for making this awesome ring! I am so excited!

resin bling ring
Pin It!

Friday, August 10, 2012

And the winner is....

Gite! Please email me at bysalla at gmail dot com with your address and I will get your earrings out to you!

UPDATE! Going back through the comments from Monday I seem to have miscounted. Dolla was actually the third comment. To correct this I will send a pair of earrings out to Gite AND Dolla! You can both email me to let me know the address to send the earrings to. Sorry for any confusion!

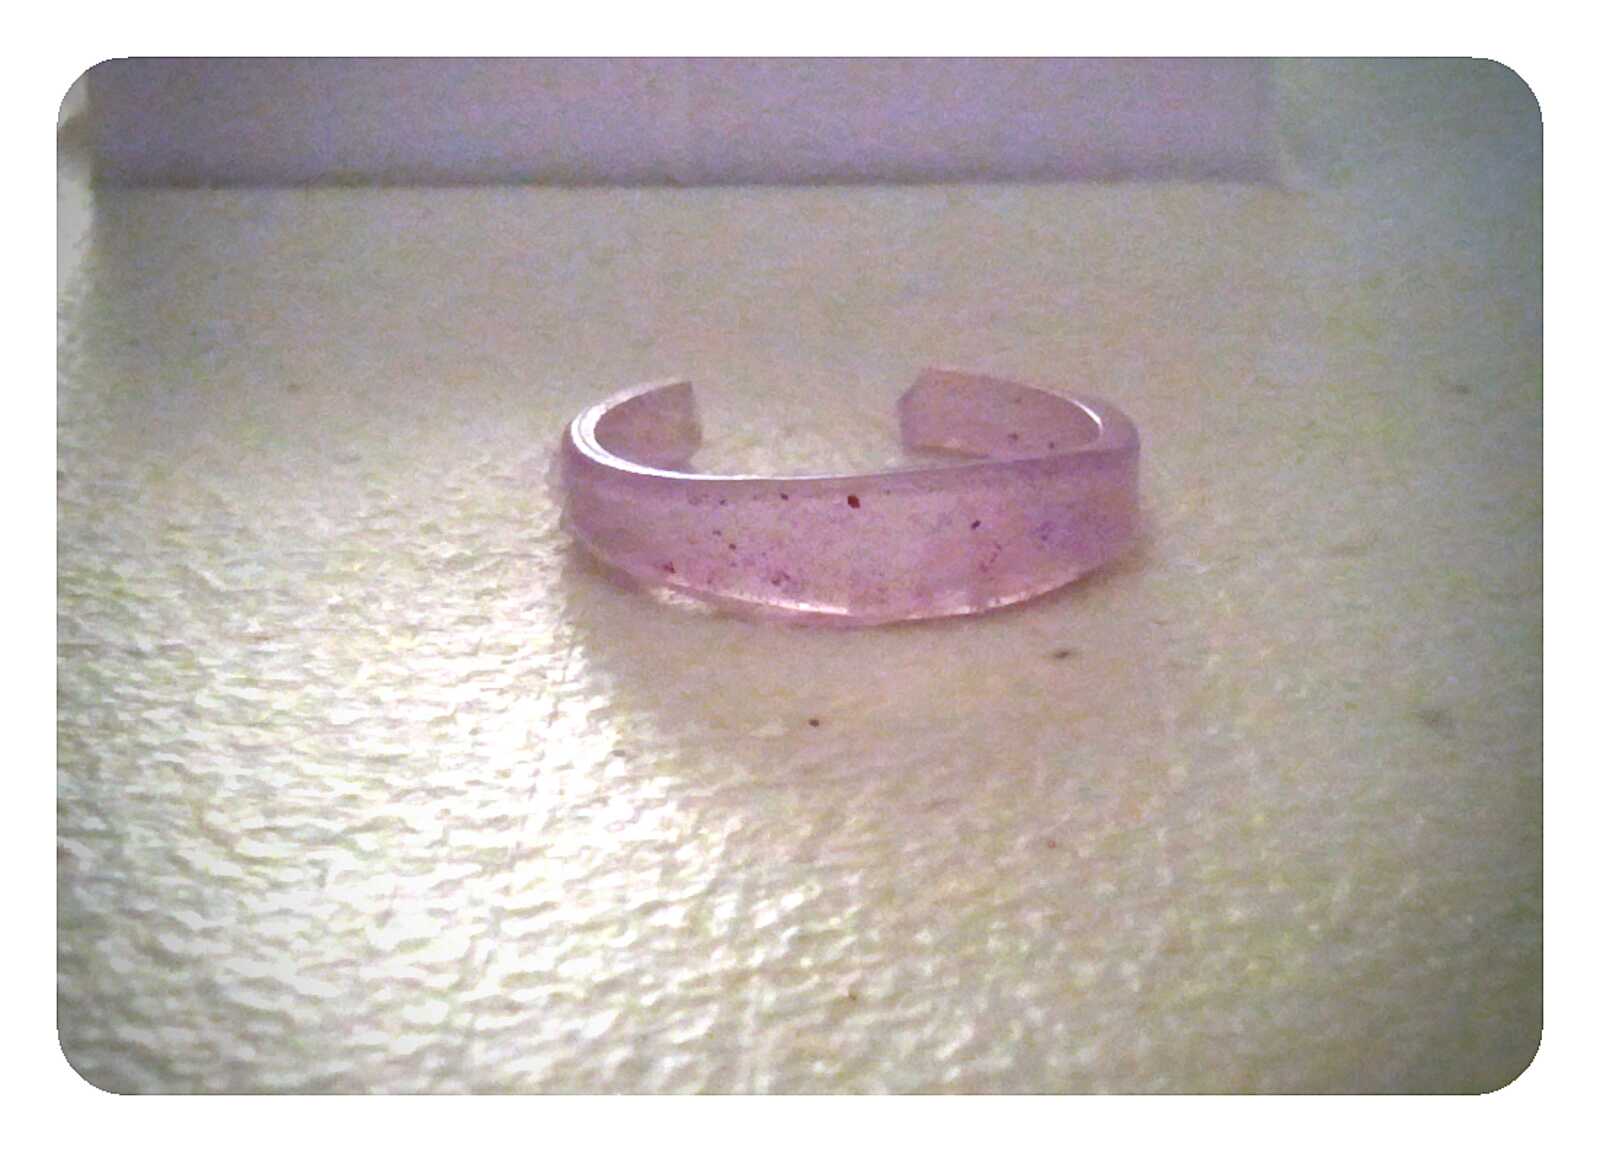
As for what I was making, there were no correct guesses (thus the random number generation). What you saw on Monday was me making a two part mold of a ring I had carved from wax.

The mold was made so that I could make resin copies of the ring (and maybe someday metal clay versions!). Below is my first resin ring... not great. I didn't add enough resin, and there was some leakage at the edges that caused little bits and things... but not bad either.

I will definitely be trying again with this mold and making other 2 part molds. This weekend I will take pictures of full process from the carving on and get those posted next week.

Thanks to all who participated!
Pin It!

Monday, July 30, 2012

What I Made Monday

This week I got to participate in an Art Show at work. However, since it was at work and during work and I had to work... I couldn't be with my display during the show. This means I didn't get to see people's reactions or talk to them about my jewelry. Judging by the number of business cards that were gone though, I think at least some people liked it. And I have had a couple of people walk up to me in the walkways saying they liked my jewelry, so that is nice. Did I mention I forgot to take a single picture of my display? Yeah, I suck.

So, you might remember a while back when I was creating little scenes in watches. I had done one that had a scene of the Earth, but I wasn't happy due to an air bubble. So, I worked to recreate it. This one has no air bubble and the black background is much sparklier. I do miss the original band though...

earth_watch

earth_watch_detail

I am pretty happy with how these resin flower pendants are turning out. The mold was made from a flower stamp.

pink_flower

Finally, be sure to check out all the great blogs in Reveal #1 of the 6th BSBP. Some wonderful creations this time through! I will be in Reveal #3 on Aug. 25th. This time I am trading internationally and am very nervous as I have not received my soup yet.
Pin It!

Sunday, July 22, 2012

The Triumphant Return!

So, while I haven't been able to blog lately, I have been busy making lots of fun things - much of it with resin. It is some of the resin items I will be showcasing today.

First, we have my favorite piece I have done in resin so far. This pendant was originally created using polymer clay. I rolled the clay out, stamped it, and then cut it to shape. Once the clay was baked and sanded, I used 2 part mold putty to make a mold of it. I actually made two molds - the first one wrapped around the edge of the piece and made the resin reproduction come out needing a LOT of finishing. So, I did it again making sure that the mold putty stopped level with the back of the piece and no wrapping. This helped my resin pieces come out much better!

Once I had a mold, I did two pours of resin to get the multi colored look. I have made several of these in different shades (you can see them on my etsy shop) but the combination I like best so far is this white and black version. I liked it so much I didn't even do a final coat of resin to make it glossy, as the matte look was awesome!

white_fancy_closeup

Next I did a similar process to make this butterfly pendant. Not completely happy with my color combos yet, but I will keep working on it.

butterfly9_detail

Now, I have found that when you mix resin to make a pendant or two, you almost always end up with several drops left over. I could just throw these away. Instead, I am making small items with them, like these leaf beads and small earrings.

leaves

resin_earrings

Ok, I am gonna cut this post here for now, but I have lots more to share, so be sure to come back later in the week!
Pin It!

Monday, June 4, 2012

What I Made Monday

I am really happy that I completed an entry for the Etsy Beadweaver's Challenge this month - the theme was Mystery. For my entry, I was inspired by the Mystery Machine from Scooby Doo. I made a ring (duh!) in the colors from that classic van with a fun orange flower on it.

mystery_machine_ring3

I am very happy with the result. It can be found in my Etsy shop here.

I also did some stack rings, one gold and one silver. I am testing out the durability of the finish on the Toho Galvanized gold. I made the gold ring first, and I love it, but when I wore it alone I decided it looked too much like a wedding ring, so I made a silver one to wear with it.

stack_rings

I also took some time to work on resin, but none of it is done yet. Resin takes days... blah.

inprogress_resin

I will take individual pics of the resin when it is all done. So, not a bad week in all. Not bad.
Pin It!

Tuesday, May 29, 2012

What I made Tuesday

Well, I don't know about you, but I had a very wonderful holiday weekend. Got to spend some time with the family watching some movies and doing some beading. Also got to work on a couple of resin projects that have been hovering in the back of my mind.

Beading first I think. Last week I posted a pattern and some pics of my "Diamond" Ring, and I mentioned that I thought this design would be fun in some gem colors. Well, it is!

Variations on my "diamond" ring pattern

Here you can see the original with a silver "diamond" as well as two variations. One red, one blue. Hmmmm, just realized that all together, these are red, white, and blue.... Below, you will see my favorite variation of this pattern. I switched the original, so now you have a silver band and a black "diamond"! I love how striking this one turned out. Definitely an attention getter!

Black Diamond ring variation

On the resin front - when a co-worker found out I was into steampunk/gears she gave me a bag of old/non-working watches to take apart. As it turns out, none of them were old enough to actually have any metal gears inside, but some of them had really great bands/bezels. So, I decided that they would be cool to use with resin. My experiments this weekend were flawed, but I have lots more watches to play with!
Here are the watches before. The one with the leather band reminded me of a boat's porthole. The metal band seemed kind of 1970's futuristic.

the watches before the resin

The leather band watch became a porthole to an undersea world, with a lovely sticker fish. I think if I try to recreate this, I will go with more realistic stickers. Maybe even see if I can cut pictures from National Geographic or something. This turned out just a little more cartoony than my original vision.

Under the Sea - resin in an old watch

For my futuristic band, I was so mad at this. I had some great planet stickers, and got the Earth in nicely. But, when putting in my sparkly black background, I got an air bubble. It was hiding behind the Earth, so I didn't see it. However, as the piece set curing, it moved and became visible just to the upper left of the planet. Grrrr.... However, I did find that if your watch bezel has scratches, you can paint a thin layer of resin on top and the scratches vanish! I will be redoing this one in another watch for sure!

The Earth - resin in an old watch

Finally, with the leftover resin, I tinted it with some oil paints, added some pearlex in micropearl to make it sparkly and then poured it into star and heart molds. With July Fourth coming, these will be perfect! (They are much more sparkly in person, my lighting just sucks. This is what I get for taking pictures at 6 AM!)

glittery resin stars and hearts
Pin It!

Monday, April 9, 2012

What I Made Monday

So, it was a busy week for me. I had to make and mail out Terri's ring for winning my give-a-way (congrats!), I had to gather and mail out some beads for a swap, and I had to do all my normal life stuff - laundry, dishes, more laundry.

But I did manage to get a few things made to show you. First, we have another ring made by beadweaving around a resin cab. This cab was also made from a vintage button I molded. I tried to do the band a little differently this time, not completely happy, but not completely unhappy...

ring1
ring2

I was also experimenting with polymer clay this week. Nothing too hard, just roll it out, stamp on it, cut a circle and paint with Pearlex powder. I then gave it a layer of resin to protect the Pearlex. I found the resin also added some wonderful depth to the stampings. I will say, looking at the charms closely in these pictures, I definately need to work on my finishing. Lots of rough edges showing! Notes on size: the small charms are about the size of a nickel.

charms_all
charms_swirls
charms_gears
charms_flowers

I have some more of these in the works right now, so I will try to get the edges looking better. I have also been trying to work with some of the crystals I won, but I keep tearing things apart.... blah.

Quote: Children are born true scientists. They spontaneously experiment and experience and reexperience again. They select, combine, and test, seeking to find order in their experiences - "which is the mostest? which is the leastest?" They smell, taste, bite, and touch-test for hardness, softness, springiness, roughness, smoothness, coldness, warmness: they heft, shake, punch, squeeze, push, crush, rub, and try to pull things apart.
R. Buckminster Fuller (1895 - 1983)
Pin It!
Related Posts Plugin for WordPress, Blogger...